实现动态背景的最佳、最兼容 IE 的方法是 使用一个全屏的 <div> 作为背景层,然后在这个 <div> 内部使用 JavaScript 动态创建和控制元素。

(图片来源网络,侵删)
下面我将提供两种主流的实现方案,并给出完整的、兼容 IE 的代码示例。
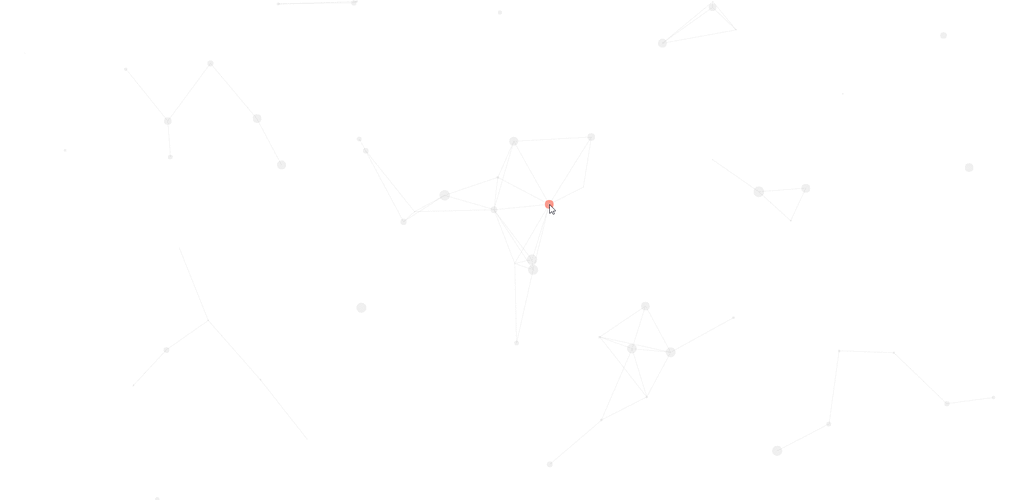
粒子动画背景 (推荐)
这是最流行且效果很好的动态背景,它通过在屏幕上生成许多移动的小点(粒子)并让它们相互连接,创造出一种科技感或星空感。
核心思路:
- 创建一个全屏的
div,作为背景层,并设置z-index为负值,确保内容在其之上。 - 使用 JavaScript 动态创建多个
<div>元素作为粒子。 - 为每个粒子设置随机的初始位置、大小、颜色和移动速度。
- 使用
setInterval或requestAnimationFrame(IE10+) 来不断更新粒子的位置,实现动画效果。 - (可选)添加粒子间的连线,当两个粒子距离足够近时,在它们之间画一条线。
完整代码 (兼容 IE9+)
这个例子创建了一个简单的粒子动画,粒子会缓慢移动。
<!DOCTYPE html>
<html lang="zh-CN">
<head>
    <meta charset="UTF-8">IE JS 动态背景 - 粒子动画</title>
    <style>
        /* 基础样式重置 */
        * {
            margin: 0;
            padding: 0;
            box-sizing: border-box;
        }
        body {
            font-family: 'Arial', sans-serif;
            /* 确保背景层和内容层高度正确 */
            height: 100%;
            overflow-x: hidden;
        }
        /* 1. 背景层容器 */
        #background-container {
            position: fixed; /* 固定定位,不随页面滚动 */
            top: 0;
            left: 0;
            width: 100%;
            height: 100%;
            z-index: -1; /* 将其置于所有内容之下 */
            background-color: #111; /* 背景色,可以是纯色或渐变 */
        }
        /* 2. 粒子样式 */
        .particle {
            position: absolute;
            background-color: #fff; /* 粒子颜色 */
            border-radius: 50%; /* 圆形粒子 */
            opacity: 0.5; /* 半透明 */
        }
        /* 3. 页面内容样式 (为了演示) */
        .content {
            padding: 50px;
            color: white;
            text-align: center;
            z-index: 1;
            position: relative;
        }
        .content h1 {
            font-size: 3em;
            margin-bottom: 20px;
        }
        .content p {
            font-size: 1.2em;
            line-height: 1.8;
        }
    </style>
</head>
<body>
    <!-- 背景层容器 -->
    <div id="background-container"></div>
    <!-- 页面内容 -->
    <div class="content">
        <h1>动态背景演示</h1>
        <p>这是一个使用纯 JavaScript 实现的动态粒子背景,兼容 Internet Explorer 9 及以上版本。</p>
        <p>滚动页面,背景会保持固定,粒子会持续移动。</p>
    </div>
    <script>
        // 确保在 DOM 完全加载后执行
        document.addEventListener('DOMContentLoaded', function() {
            // 获取背景容器
            const container = document.getElementById('background-container');
            // 粒子数量
            const particleCount = 80;
            // 存储所有粒子对象的数组
            const particles = [];
            // 粒子类
            function Particle() {
                // 创建粒子 DOM 元素
                this.element = document.createElement('div');
                this.element.className = 'particle';
                // 随机大小 (2px 到 5px)
                this.size = Math.random() * 3 + 2;
                this.element.style.width = this.size + 'px';
                this.element.style.height = this.size + 'px';
                // 随机位置
                this.x = Math.random() * window.innerWidth;
                this.y = Math.random() * window.innerHeight;
                this.element.style.left = this.x + 'px';
                this.element.style.top = this.y + 'px';
                // 随机速度 (非常缓慢)
                this.speedX = (Math.random() - 0.5) * 0.5;
                this.speedY = (Math.random() - 0.5) * 0.5;
                // 将粒子元素添加到容器中
                container.appendChild(this.element);
            }
            // 更新粒子位置的方法
            Particle.prototype.update = function() {
                // 更新坐标
                this.x += this.speedX;
                this.y += this.speedY;
                // 边界检测,如果粒子移出屏幕,则让它从另一边进来
                if (this.x > window.innerWidth) this.x = 0;
                else if (this.x < 0) this.x = window.innerWidth;
                if (this.y > window.innerHeight) this.y = 0;
                else if (this.y < 0) this.y = window.innerHeight;
                // 应用新的位置
                this.element.style.left = this.x + 'px';
                this.element.style.top = this.y + 'px';
            };
            // 创建所有粒子
            for (let i = 0; i < particleCount; i++) {
                particles.push(new Particle());
            }
            // 动画循环函数
            function animate() {
                // 更新每一个粒子
                for (let i = 0; i < particles.length; i++) {
                    particles[i].update();
                }
                // 递归调用,形成循环
                requestAnimationFrame(animate);
            }
            // 启动动画
            // 注意:IE9 不支持 requestAnimationFrame,但 IE10+ 支持。
            // 为了最大兼容性,可以回退到 setInterval。
            if (window.requestAnimationFrame) {
                requestAnimationFrame(animate);
            } else {
                // IE9 及更早版本的回退方案
                setInterval(function() {
                    for (let i = 0; i < particles.length; i++) {
                        particles[i].update();
                    }
                }, 1000 / 60); // 尝试以 60fps 的速度运行
            }
        });
    </script>
</body>
</html>
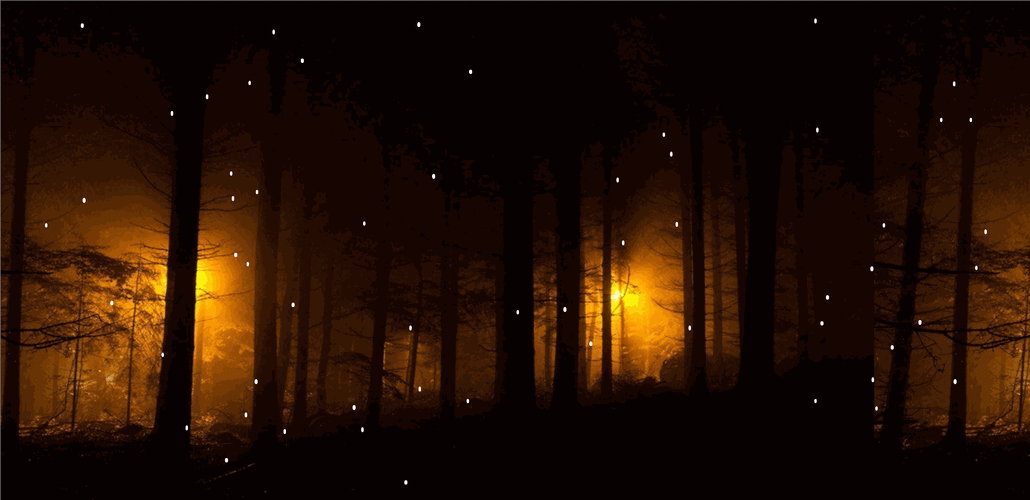
Canvas 绘制背景
Canvas 提供了更强大的绘图能力,可以实现更复杂的图形和动画,比如流体、波浪等,在 IE 中使用 Canvas 需要注意一些 API 的差异。
(图片来源网络,侵删)
核心思路:
- 创建一个全屏的
<canvas>元素,作为背景层。 - 通过 JavaScript 获取
canvas的上下文 (getContext('2d'))。 - 在
canvas上绘制图形(如圆形、线条等)。 - 使用动画循环不断清除画布并重新绘制,形成动画。
完整代码 (兼容 IE9+)
这个例子创建了一个简单的波浪动画。
<!DOCTYPE html>
<html lang="zh-CN">
<head>
    <meta charset="UTF-8">IE JS 动态背景 - Canvas 波浪</title>
    <style>
        * {
            margin: 0;
            padding: 0;
            box-sizing: border-box;
        }
        body {
            font-family: 'Arial', sans-serif;
            height: 100%;
            overflow-x: hidden;
        }
        #background-canvas {
            position: fixed;
            top: 0;
            left: 0;
            width: 100%;
            height: 100%;
            z-index: -1;
            background: linear-gradient(to bottom, #1e3c72, #2a5298); /* 渐变背景色 */
        }
        .content {
            padding: 50px;
            color: white;
            text-align: center;
            z-index: 1;
            position: relative;
        }
        .content h1 {
            font-size: 3em;
            margin-bottom: 20px;
        }
    </style>
</head>
<body>
    <!-- Canvas 背景层 -->
    <canvas id="background-canvas"></canvas>
    <!-- 页面内容 -->
    <div class="content">
        <h1>Canvas 波浪背景</h1>
        <p>这是一个使用 Canvas 和 JavaScript 实现的动态波浪背景。</p>
    </div>
    <script>
        document.addEventListener('DOMContentLoaded', function() {
            const canvas = document.getElementById('background-canvas');
            const ctx = canvas.getContext('2d');
            // 1. 设置 Canvas 尺寸为窗口大小
            function resizeCanvas() {
                canvas.width = window.innerWidth;
                canvas.height = window.innerHeight;
            }
            resizeCanvas();
            window.addEventListener('resize', resizeCanvas);
            // 2. 波浪参数
            let time = 0;
            const waveCount = 3; // 波浪层数
            const waves = [];
            for (let i = 0; i < waveCount; i++) {
                waves.push({
                    amplitude: 20 + i * 10, // 振幅 (波浪高度)
                    frequency: 0.01 + i * 0.005, // 频率 (波浪密度)
                    speed: 0.02 + i * 0.01, // 速度
                    yOffset: canvas.height * 0.5 + i * 30, // Y轴偏移
                    color: `rgba(255, 255, 255, ${0.2 - i * 0.05})` // 颜色和透明度
                });
            }
            // 3. 绘制单帧的函数
            function draw() {
                // 清除画布
                ctx.clearRect(0, 0, canvas.width, canvas.height);
                // 绘制每一层波浪
                waves.forEach(wave => {
                    ctx.beginPath();
                    ctx.moveTo(0, canvas.height); // 从左下角开始
                    // 使用正弦函数创建波浪路径
                    for (let x = 0; x <= canvas.width; x++) {
                        const y = wave.yOffset + Math.sin(x * wave.frequency + time * wave.speed) * wave.amplitude;
                        ctx.lineTo(x, y);
                    }
                    // 闭合路径到右下角,然后填充
                    ctx.lineTo(canvas.width, canvas.height);
                    ctx.lineTo(0, canvas.height);
                    ctx.closePath();
                    ctx.fillStyle = wave.color;
                    ctx.fill();
                });
                // 更新时间,用于下一帧动画
                time += 1;
            }
            // 4. 动画循环
            function animate() {
                draw();
                requestAnimationFrame(animate);
            }
            // 启动动画 (同样处理 IE9 兼容性)
            if (window.requestAnimationFrame) {
                requestAnimationFrame(animate);
            } else {
                setInterval(draw, 1000 / 60);
            }
        });
    </script>
</body>
</html>
总结与关键点
| 特性 | 方案一 (DOM 元素) | 方案二 (Canvas) |
|---|---|---|
| 兼容性 | 极高,纯 DOM 操作,IE9+ 无任何问题。 | 高,IE9+ 基本支持,但需注意 requestAnimationFrame 回退。 |
| 性能 | 粒子数量多时(>500),性能会下降,因为每个粒子都是一个独立的 DOM 元素,会触发重排重绘。 | 更高,所有绘制都在一个元素上完成,适合大量图形和复杂动画。 |
| 实现复杂度 | 简单,逻辑直观,易于理解和修改。 | 中等,需要理解 Canvas API 和图形绘制算法(如贝塞尔曲线)。 |
| 灵活性 | 较低,难以实现复杂的图形效果(如模糊、发光)。 | 极高,可以绘制任何图形,实现各种酷炫效果(粒子连线、流体、星空等)。 |
给 IE 开发者的建议:
- 优先选择 DOM 方案:如果你的动态背景不需要非常复杂的图形,粒子效果用 DOM 元素实现是最稳妥、最兼容的选择。
- 回退
requestAnimationFrame:在写动画循环时,一定要加上setInterval作为requestAnimationFrame的回退方案,这是确保 IE9 用户也能看到动画的关键。 - 测试,测试,再测试:IE 的行为模式和现代浏览器差异较大,务必在真实的 IE 浏览器(如使用 IETester 或虚拟机)中进行测试。
这两种方法都能很好地在 IE 中实现动态背景,你可以根据你的具体需求(性能、效果、开发时间)来选择最适合你的那一个。
(图片来源网络,侵删)


